Get stronger and move better with the best foam roller exercises
The best foam roller exercises will improve your mobility, help to correct muscle imbalances, and prevent potential injuries. They’re not only essential for gym rats with a gruelling workout regimen, but also important for desk jockeys who spend most of their days sitting.
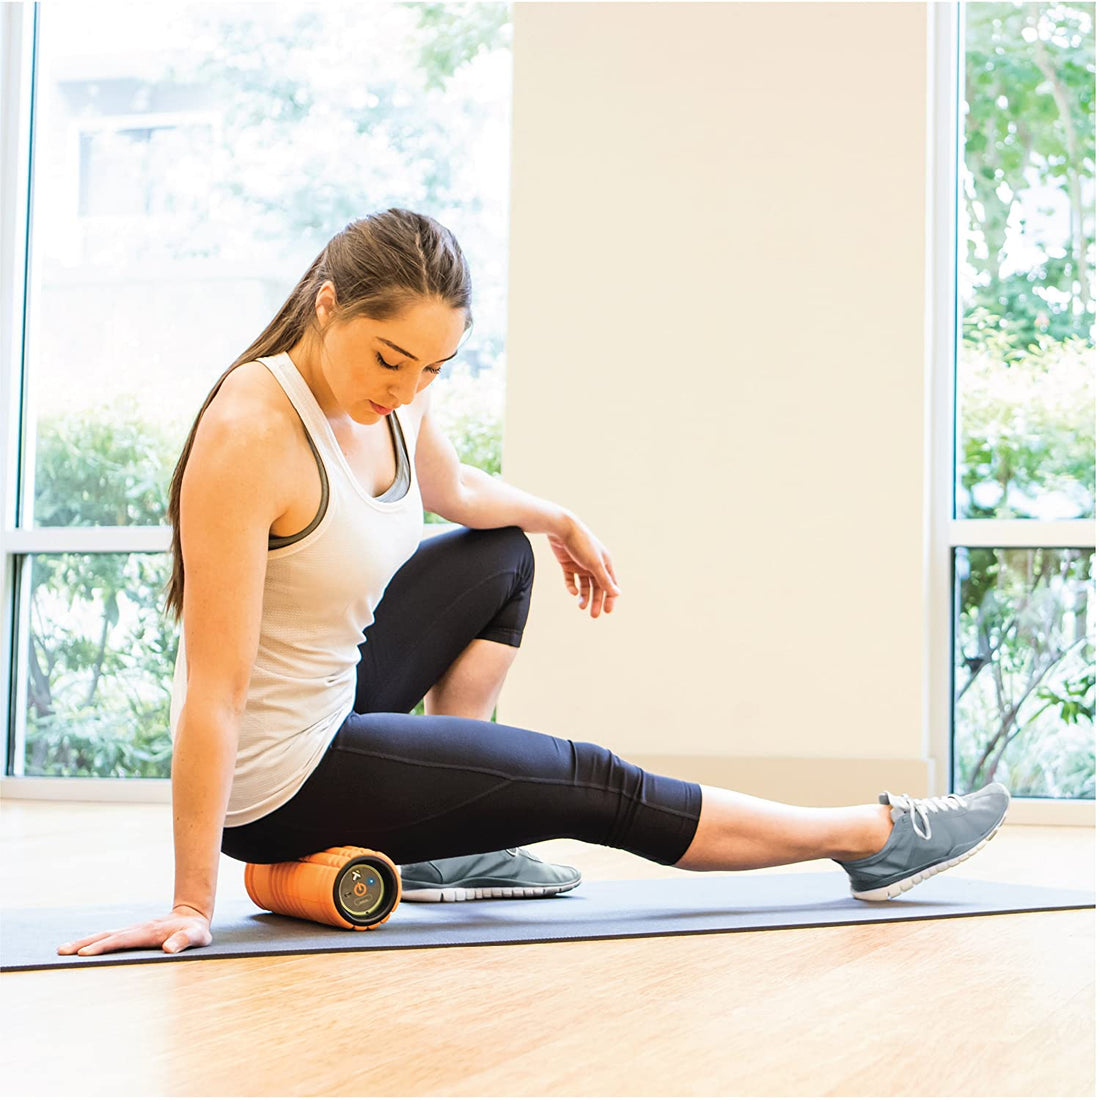
Foam rolling is a form of Self Myofascial Release, or SMR. This technique helps tight musculature in our bodies lengthen and realign. When the pressure of a dense foam roller is placed against stiff muscle and fascia (connective tissue), small receptors within those structures send signals to the muscle to relax. The deep massage-like sensation can be intense and somewhat painful depending on the foam roller you use and where you’re using it, so be sure to ease into a new routine and select the best foam rollers for your body and experience level.
Studies have found that when used as part of a warm-up, foam rolling can help prevent fatigue and lessen the effort it takes for muscles to produce force. Don’t forget to foam roll during your cool down too, as it can help reduce delayed onset muscle soreness. Even if you don’t hit the gym as much as you should, foam rolling can still be useful for improving joint ranges of motion, as this study in the International Journal of Sports Physical Therapy found.
So grab a foam roller and move your body better with these essential foam roller exercises. If you’re new to foam rolling, perform each exercise for around 30 seconds. If you’re a foam rolling aficionado, try the exercises for 60 seconds.
To foam roll the gastrocnemius and soleus, the two main muscles of the calves, line up a roller perpendicular to your body. Sitting upright on your tailbone, place the foam roller under the thickest part of your left calf muscle. Cross your right leg over your left. Place your hands behind your hips and gently lift your hips off the floor. Relax your foot and slowly roll back and forth on the foam roller, reaching each end of your calf muscle. If you hit a particularly tender spot, hold on that point for around 20 seconds, breathing deeply as you continue to relax the muscle. Roll for 30-60 seconds total, then switch to the right calf muscle and repeat.
Alternative: If the pressure is too intense, use a long foam roller and roll both legs at once.
The hamstring muscles (biceps femoris, semitendinosus, and semimembranosus), are notoriously tight on both the active and the sedentary. To target this muscle group, sit upright and line up a foam roller perpendicular to your body. Place the foam roller underneath your left thigh, slightly above the knee joint. Cross your right leg over your left and with both hands at your hips, gently lift yourself off the floor. Slowly roll yourself so that the roller moves up towards the top of your leg, relaxing your calf into the foam roller. If you hit a trigger point, hold on the tender spot for around 20 seconds. Roll back and forth along the thigh for 30-60 seconds. Repeat on the right side.
Alternative: If the pressure on one thigh is too intense, find a longer foam roller and place both of your legs on the roller at once.
Another common tight spot for most of us are the muscles that make up the quadriceps. It’s important to foam roll both the middle of our quads (the rectus femoris) and the outside (the vastus lateralis).
To foam roll the meaty middle quadricep muscle, place yourself on all fours and line up the foam roller perpendicular to your torso, slightly above the left knee joint. Bracing yourself on your forearms, place the majority of your body weight into the foam roller on your left thigh. Slowly roll yourself back on the roller, until you reach the top of the hip, then reverse directions. If you hit a knot or sensitive area, hold on that point for around 20 seconds. Continue to roll slowly for 30-60 seconds. Repeat on the right side.
Alternative: If the sensation of rolling each individual leg is too strong, foam roll both middle quadriceps at once using a longer length foam roller. You can also bring yourself onto your hands instead of your forearms, which will reduce the amount of weight you place into the roller.
Targeting the outside of your quadriceps is important too, as a tight vastus lateralis can be responsible for a lot of overuse injuries and pain (like IT Band Syndrome). Sitting upright on your tailbone, line up a foam roller parallel to your legs on the left side of your body. Lift yourself up, place your left hip on the middle of the foam roller, slide your left leg down a few inches, and then rotate your body slightly inward. Bracing yourself on your left forearm, slowly roll the foam roller from the top of your hip down the side of your left leg, trying to relax the muscle into the foam roller as much as possible. When you roll over a tense area, hold for around 20 seconds. Continue to roll back and forth, from the top of your hip to the top of your knee, for 30-60 seconds. Repeat the process on the right side.
Alternative: If the pressure is too intense, cross your top leg over and place the foot on the ground in front of you, giving yourself another point of contact to the floor. You can also bring yourself onto your hands instead of your forearms, which will decrease the intensity.
Limited hip range of motion can contribute to a host of aches, pains, and injuries, from the lower back all the way down to the feet. Two commonly tight and overactive muscles in the hip region are the piriformis and the tensor fasciae latae (TFL).
To foam roll the piriformis, sit on top of a foam roller with your hips square and your feet firmly planted. Cross your left leg over your right, lining up your left ankle slightly below the right knee joint. Rotate your left knee towards the wall in front of you, and slightly shift your body weight onto the muscles of your outer left hip. Slowly roll back and forth on the tissue for 30-60 seconds. Hold on any tender spots for around 20 seconds. Repeat on the right side.
Alternative: If rolling this area is too painful, try to find a softer foam roller. Frequently, foam rollers made from PE foam are less dense.
Alternative: Cross your top leg over the bottom and place your foot on the floor in front of you to reduce pressure, if needed.
While rolling on the back with a conventional foam roller isn’t usually recommended, there are some great foam rollers specifically designed to cushion the vertebrae and discs of your spinal column while targeting the often tight and overworked erector spinae muscles.
Sit upright on your tailbone with the specialty foam roller directly behind you. Press your heels into the ground and lift your hips up, placing your weight on the roller behind you. Slowly roll yourself up and down along the length of your back, pausing briefly on any tight spots. Continue rolling for 30-60 seconds.
Alternative: If rolling the back on the floor causes discomfort, choose a roller or another SMR tool that can be used standing. You can also select a specialty roller with a softer density.
The “lats,” or latissimus dorsi, is a large triangularly shaped muscle in your back that is responsible for many shoulder movements. To foam roll this area, sit upright on the floor and place a foam roller to your left, parallel to your legs. Slowly lower yourself onto your left elbow and line the roller underneath your left armpit. Cross your right leg over and place your right foot on the ground in front of your hips. Slowly roll along your left side, staying on trigger points for around 20 seconds. You can also gently rotate your body back and forth to hit different spots in the muscle. Roll for 30-60 seconds, then repeat on the right side.
Alternative: If you find rolling this area causes too much pain, find a softer density foam roller, or a specialty roller that can be used while standing.
The trapezius muscles (or “traps”) consist of upper, middle, and lower subsections that, like the lats, control a lot of movements in our shoulders. They’re a little more difficult to address with conventional foam rollers, so you may want to use a specialty roller that’s smaller in size.
To foam roll the middle and lower sections of your trapezius, sit on the floor with the speciality roller behind you. Slowly lower yourself onto your back, with your roller lined up between your shoulder blades. Make sure no undue pressure is placed directly on your spinal column. Slowly roll back and forth on the roller, from the top to the bottom of your shoulder blades, pausing on any knots for 20 seconds. Roll for 30-60 seconds.
Alternative: If lying on the floor places too much pressure on your back, place the specialty roller against the wall and lean into the roller.
To address the upper traps, stand tall and place a smaller roller or speciality roller against the wall, lined up with the top of your shoulder. Lean back and place your body weight into the roll. Slowly bend your legs to target different points in the muscle, pausing on tender points for 20 seconds. Continue to roll for 30-60 seconds.
Alternative: If the pressure is too intense, place less of your body weight into the roller.
Shop our range of FOAM ROLLERS here
Follow us on Facebook, Instagram or Twitter
https://performbetter.co.uk/how-to-use-a-vibrating-foam-roller-like-tom-brady/
https://performbetter.co.uk/the-best-workout-recovery-gadgets/
